
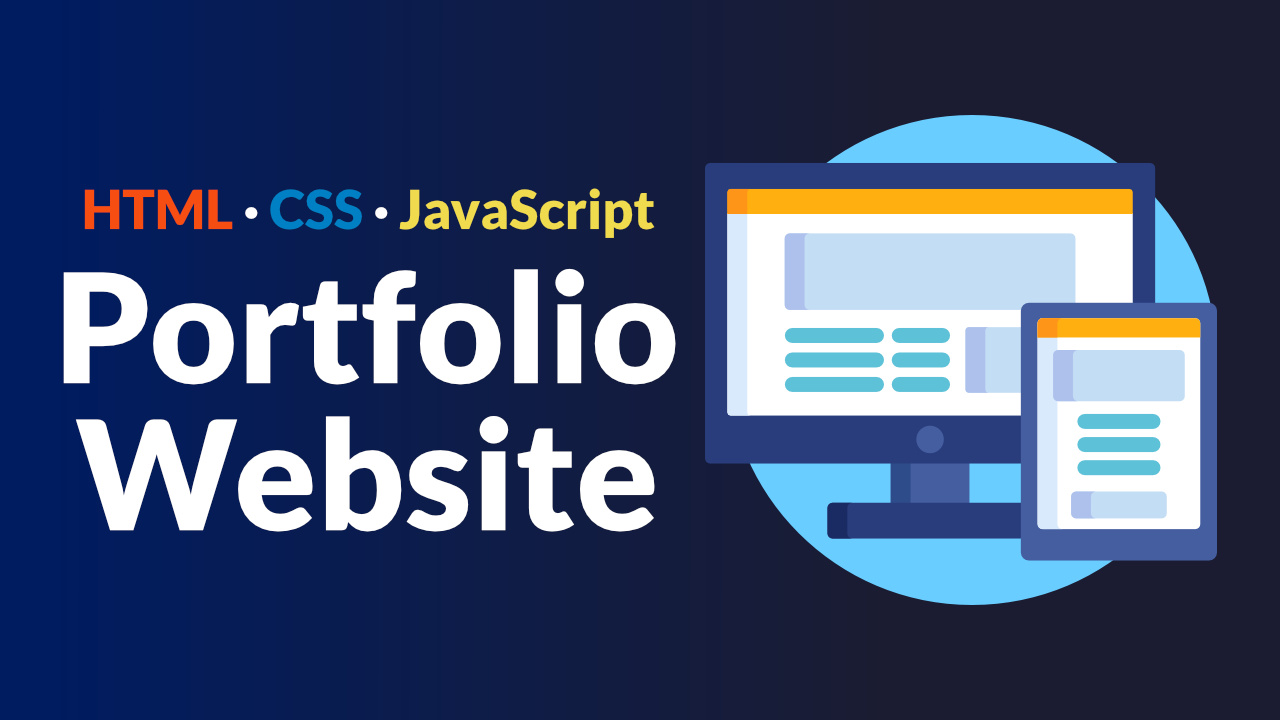
Create a Portfolio Website Using HTML, CSS, & JavaScript in easy step
30
Nov
Create a Portfolio Website Using HTML, CSS, & JavaScript in easy step
If you are looking for a web developer job it can be helpful to have a portfolio website. It can also be helpful to have projects you've created to show to potential employers. You can accomplish both tasks at once by creating your own portfolio website with HTML, CSS, & JavaScript.
We just published a course on the freeCodeCamp.org YouTube channel that will help you improve your frontend development skills by teaching you how to build a portfolio website.
MacLinz developed this course. He is an experienced frontend developer that has created many great courses on his YouTube channel.
In this course you will lean how to build a responsive portfolio website with a modern design and cool JavaScript-based effects. You can use what you learn in this course and customize your portfolio website to show off your work history and design skills.
This is a great beginner's project for people that want to improve their skills with HTML, CSS, and JavaScript.
The course includes the following sections:
- Introduction
- Switch Between Sections
- Header Content
- About Section
- Portfolios Section
- Blogs Section
- Contact Section
- Media Queries
Watch the full course below or on the freeCodeCamp.org YouTube channel (3-hour watch).
In this course, you will improve your HTML, CSS and JavaScript skills by building a portfolio website.
Hello, everyone. In today's video, we're going to be building a portfolio website using HTML, CSS and JavaScript.
So this is the main homepage of the portfolio. Okay, so we have some nice hover effects. On the buttons and images. We can also toggle between light and dark theme.
Okay, so the next section is going to be the upper section, we're going to have some information with also nice after effects. And we're going to have some stats here with progress bars. And they're also going to have a timeline.
Okay, so it also looks nice on the light theme.
Okay, and then the next section is going to be the portfolio section with an SRO effect, one of these patterns can lead us to any work suggests that you link it to, okay, so for example, you want to get to GitHub, you can click, and then it goes to GitHub, or YouTube, whatever.
Okay, and then the next section is going to be the blog section. We also have a nice hover effect on images in the blog item. And then finally, we have the contact section, you can put your contact information here.
Anything that you want, it's up to you.
This website is also responsive, it's going to support multiple screens, you can even make it more responsive as much as you want.
So when I decrease the width, it's going to check those controls here, and then put them down here, you can sort of, you know, switch between the pages within the controls down here, instead of them to be on the right side.
Okay, so as you can see, everything's going to respond nicely to different screen sizes.
Okay.
So Sam is the about is going to be NASA responsive.
And also the portfolio is going to be nested responsive.
Yeah, also, everything is responsive.
So I'll show you everything out to make it even more responsive, you have the knowledge to make a difference.
So yeah, I think that's it for this quick demonstration.
I'll see you in the video.
I have an images folder here.
So there isn't many images.
So these are the images that we're going to be using this project, I'm going to start by creating a new HTML file, index dot HTML, then I'm going to create a new folder.
So this one is going to be storing our all of our styles inside the styles for them when to create a new style.
So the extension we're going to be using for this one is s CSS.
So that's the sass preprocessor.
It's much quicker to do styles than normal CSS.
So to be able to use Sass, you need to go to the extensions, and look for SAS, and then you're going to find the SAS and then install that.
And also, there's a live compiler.
So we don't need to restart every time that we make updates to the code.
So we can just compile the code life.
Okay.
So now, I, you might also want to download HTML CSS snippets.
So future HTML, CSS support, just install these two.
Okay, I think that's it for now, we just need to go to the styles and let's do basic page resetting.
So I'm going to set the margin to zero, because by default, the page is whenever margin and padding zero, box sizing, zero box, actually, box and then list style to none.
Okay, so in the body, I'm just going to give it a background color of red just to check out if our styles are working.
So we need to compile this Sass file into the styles folder.
So here you're going to see a button says what Sass click the button.
Okay, and then it's going to generate a style css file here.
So let's go to the index and generate HTML boilerplate.
So to do that, hold Shift and one and then click enter.
Shift, hold Shift, one, enter.
Okay, so I'm going to I'm going to name this portfolio.
Portfolio.
Okay, so now I'm just going to link the style css file styles.
Start with CSS.
So I'm going to run this with live server.
So you can go to the extensions and look for live server plug extension.
Okay, so I'm going to run this now.
With the live server.
There it is.
Okay, so that means our styles are working.
So I'm going to get rid of the background color of red Margarida that, I am going to actually get some fonts first.
Google Fonts, Google Fonts, I'm going to get the font called Poppins.
Okay, so you need to select some font weights.
So we're going to be using regular 405 and 400 500, the regular ones only, all the way to 800.
So once you've done that, you just need to copy this link, once you've copied, go to the index below the styles, and then paste in the Font weights.
Okay, so I'm also going to copy the font family name, and then when I put it in the body.
Okay, so now that we've done the fonts, we're going to be able to toggle between dark and light mode.
So to do that, we're going to be using some variables, some CSS variables to to do variables, we're going to type root, and then we're going to put some variables inside the root.
Okay, so the mainly the variables are going to do for the colors.
Okay, so you can do a variable literally for anything from mainly in this video, I'm going to do colors.
So the first one is going to be color primary.
So this cover primary is going to be like a dark color 191 And then D to B, I think that's the color.
Yeah.
Okay, so that's the color, I'm going to paste in the rest of the colors, because I don't waste your time typing because one by one.
Okay, so these are the variables that we're going to be using.
So now, for the body, I'm going to give it a background color.
So to be able to use the variable duva.
Primary, so VA primary color, we're going to be utilizing this variable, which is a color a dot one.
Okay, so I went to also do a font size, a default font size is going to be 1.1 RM.
So that's going to be our default font size.
Also, I'm going to give a different color, the default color is going to be white.
So by default on the text to be white, okay, and then I want also a transition.
Transition.
So the transition is going to be all point four seconds is in a nice out.
Okay, so like that.
So now that we've done that, let's go to the index.
So in here, I'm going to give the body class of main content, so main content, so that's the body.
And then in the body, we're going to have a header header with the class of section.
And then another class name of Section sec, one, section one, and then another class of header.
And then it's going to have another class of active, they want to see why we're using active, I will explain as we go, we press enter.
Okay, so now if we had and the underscore to your main, in the main are going to have session, dot section.
Section is going to have a class of section and then doats, another class, section two, and then another class about.
Okay, so now I'm going to click enter.
So now we have a section.
Okay, so we're going to have five more sections.
Okay, so we have section, section two, about some dessert, that's the class name, I'm going to duplicate this.
Tomato three more times 123.
Okay, so it's going to all of them are going to contain a class of section, all of them.
I'm just going to change this from sector to sec three, section four, and Section Five.
Okay, you can just change the class names here from about to portfolio.
And then the other one, this one's going to be blogs.
And then this one is going to be contact.
Contacts.
Okay.
So does that.
Now we have the sections, we need to, let's start by selling all these sections.
Before we add any content.
Let's work on the functionality to switch between the sections, okay, using the JavaScript.
I'm going to introduce you to Font Awesome.
I'm going to say font, awesome CDN.
CDN.
And then look for the Font Awesome CDN, look for the version, version 5.5 point one, and then copy the link tag, and then go below the Google Fonts even above and then just paste in the link Okay, so now we've pasted the link for font awesome font, awesome.
We can, you know, like, sort of get icons from font awesome font, awesome.
Instagram, let's say we want to use the Instagram icon.
So we can copy this Instagram icon, let's see if it's working, I'm just gonna paste it down here.
And when I save, let's see in the preview if it's working or not.
Let's see, there it is.